So, you want to control your Pi Robot from anywhere?
4-20-2020
Altrubots has created RC Everywhere to allow you to control your robots over the internet. We aslo provide a private service for as low as $20 a month to allow you to host your bot on your own website!
Follow this tutorial to learn how you can control your Raspberry Pi robot over the internet for free! Telepresence robots are sweet, and now you can make your own.
Componenets
- Raspberry Pi - Obviously. We are using a Raspberry Pi 4 Model B with the latest Full version of the Raspberry Pi OS.
- Motor Controller - To power your motors you will need a motor controller, or electronic speed controller. Depending on your choice of controller (this tutorial uses a Dimension Engineering Sabertooth) and its signal input voltage you may be able to plug the controller directly into the Pi's GPIO pins!
- Arduino - The Sabertooth accepts signal at 5v, which the makers of the Pi have yet to build into the GPIO pins. The Arduino Uno is capable of generating PWM or digital signals at 5v, so we use this to interface with the sabertooth motor controller. You could use a 3v to 5v logic level converter, but this gets more painful when your bot has numerous servo, actuator and motor systems to control. For this reason (and that they cost just $10 dollars) we are using an Arduino Uno.
- Camera - You need a camera so your pilots can see what your bot is doing! You can use a Pi Compatible Webcam or the Pi Cam. This tutorial uses the Pi Cam.
- A Robot! - Your going to probably want a robot to control. Use one you already have or check out this tutorial on how to build a trash collecting rc boat! Though, even without a robot - you can make a pretty cool home monitoring setup! Check out this tutorial to learn how to build a trash collecting robot perfectly compatible with this service!
Step 1 - Setup Your Pi
This tutorial uses a Raspberry Pi 4 B. The OS is the full Raspberry Pi OS installed with The Raspberry Pi Imaging Utility!
We will use the $10 Camera Module for the video input. Coronavirus has made webcams quite expensive, but this one is still cheap!
Follow THESE INSTRUCTIONS to install it.
Step 2 - The Download
The Altrubots bot/drone side code is all open source and available for cloning from our Git Lab by running:
mkdir altrubots
git clone https://gitlab.com/altrubots/altrubots-rcanywhere-alpha altrubots

Step 3 - Arduino Setup
Next, you need to flash your arduino with the altrubots C++ project. You can skip this step if you're connecting the pi right
to a motor controller. To flash the arduino directly from the Pi you will to install the Arduino IDE - which is a simple one liner:
sudo apt-get install arduino
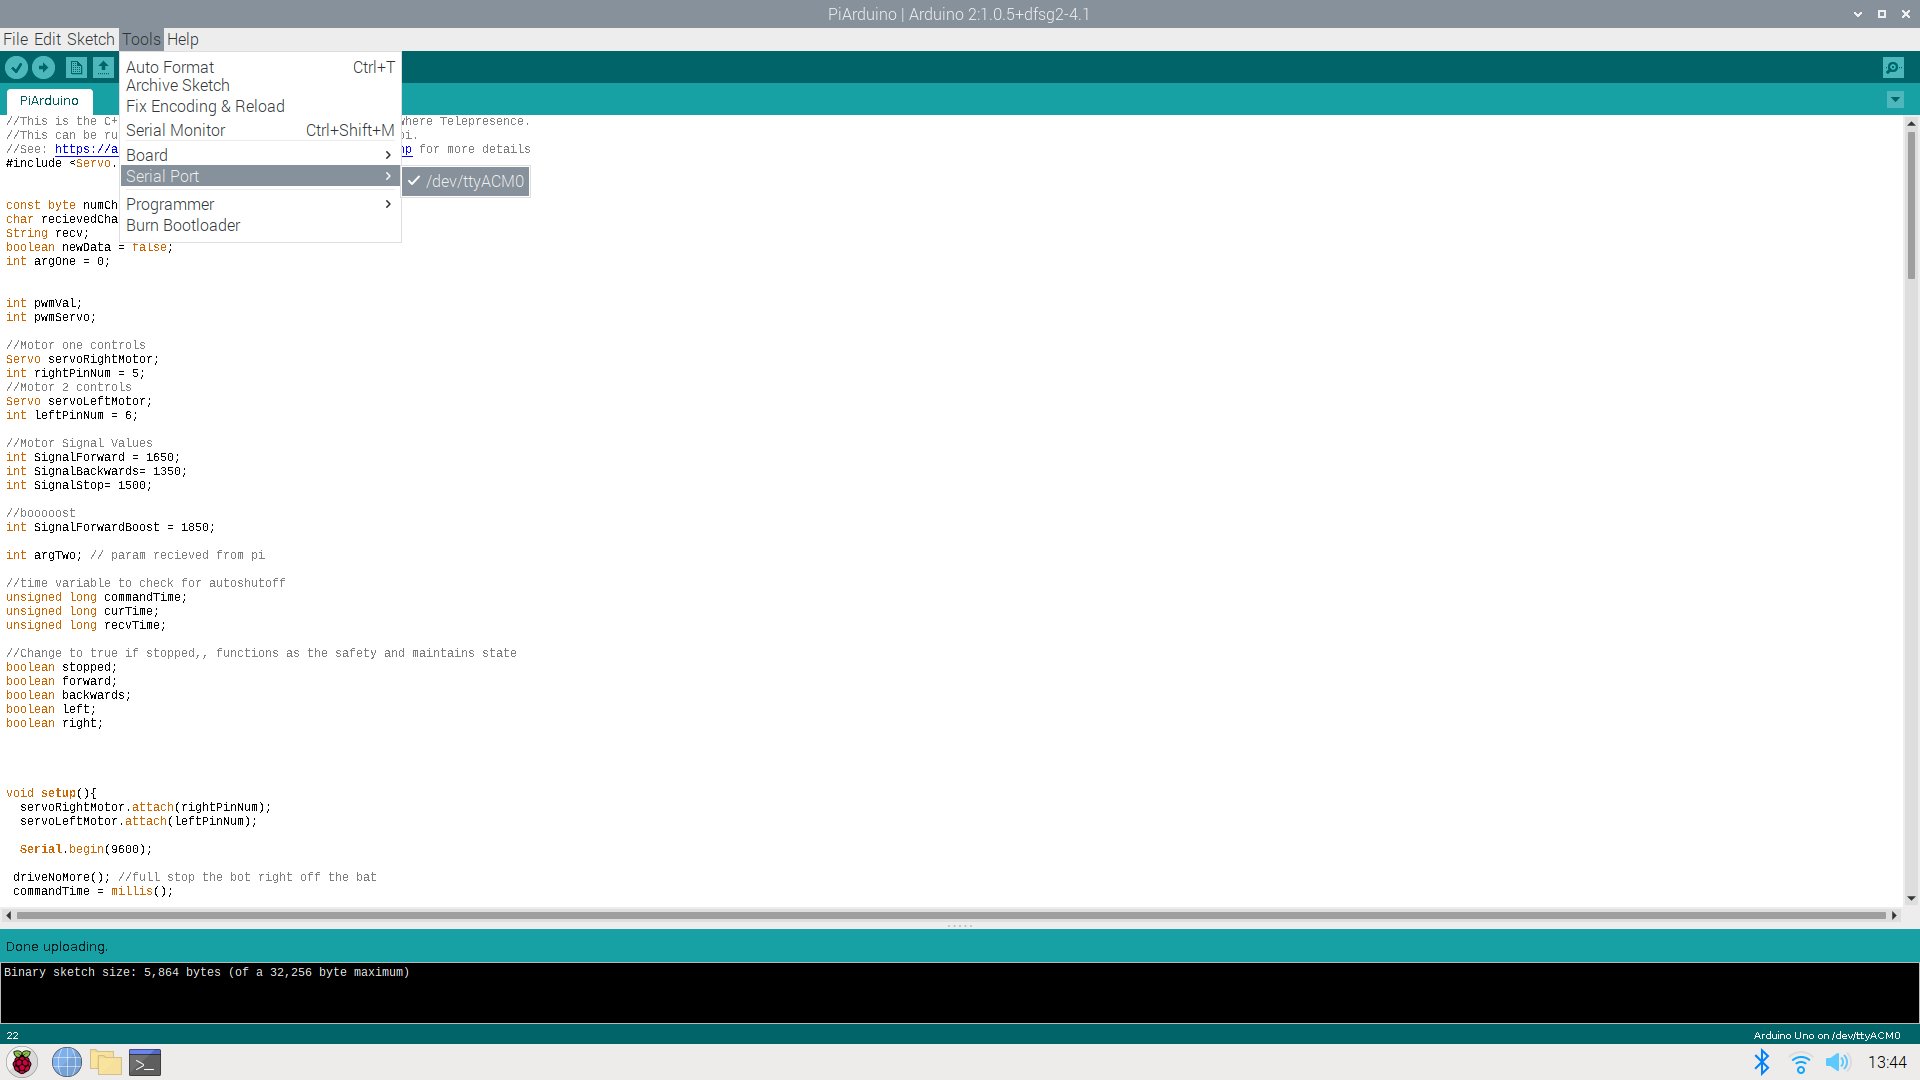
Depending on your internet speed, you will need to wait a few minutes while this completes. Once downloaded open the IDE. You can
do this by clicking the Pi icon in the top corner and clicking "Arduino" in the Electronics section. In the IDE
and open up the PiArduino project that is located in the arduino folder of the repo you cloned in step 1. Then you will
need to flash your arduino with this project by selecting the port as shown below and clicking the Arduino Upload arrow.
Step 4 - Install your Altrubots Client
You will need to install your Altrubots client. This defaults into /home/pi/Altrubots. Luckily, its as easy as running:
./install.sh
in the bin direcotry of the altrubots code you downloaded from Git. (You may need to change file permission to executable: chmod 775 install.sh config.sh)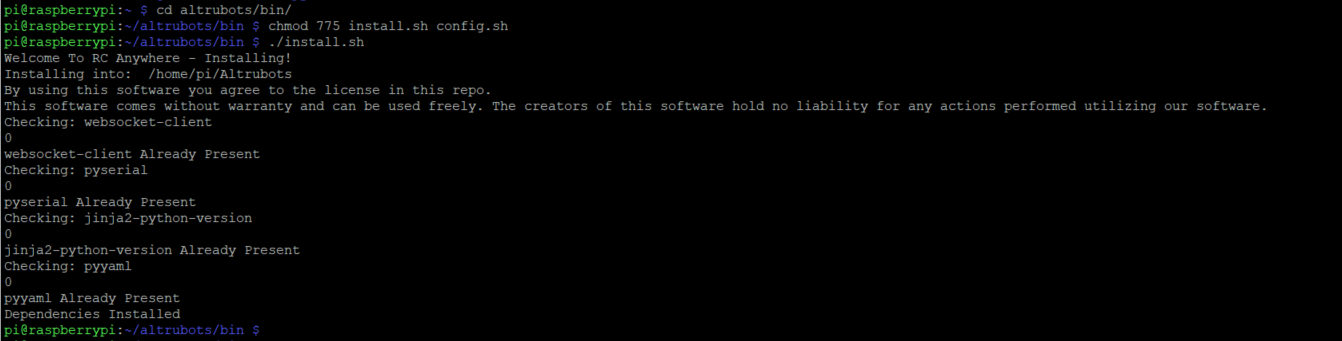
This will install the neccessary python libraries for running altrubots and configure your video connection html.
Step 5 - Wire Up Your Bot!
Setup your bot so you are good to go! You have many options to wire your bot, but the code used in this example defaults to this setup:

Plug pins 10 and 11 of your arduino into your Sabertooth with the ground, wire a usb cable from the pi to the arduino's printer USB cable port
and get rolling! You are encouraged to hack up any of these programs to work better on your bot!
Step 6 - Configure your Altrubots Client!
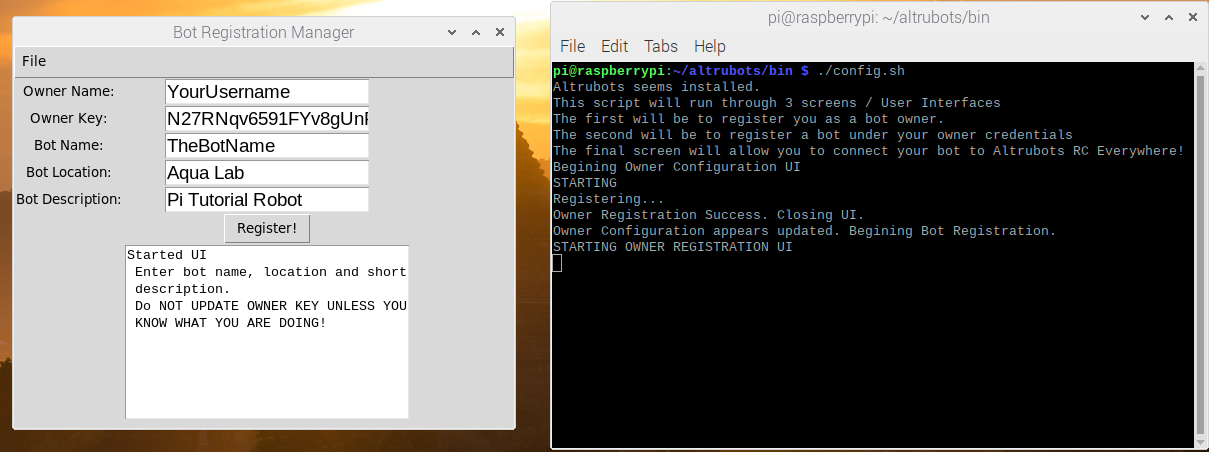
Configuring your Pi to run Altrubots RC Anywere is easy! Just run the ./config.sh file in the same bin directory as the install. NOTE: You need to VNC or use the Pi HDMI out to do this part.
Headless is not yet supported in the alpha.
This will launch you through a few menus that will allow you to use the platform. The first is a simple Bot Owner Registration:

Put a username, password and an email address - then click register. If successful, the program will close after downloading your unique Owner Key in the background.
If your owner configs downloaded correctly a Bot Registration UI will then automatically appear. Enter your Bot Name and a few other details then click Register.
Once the Bot registration is complete - its time for the final step!
Step 7 - Connect Your Bot!
After the Bot Registration closes you will be brought to the Bot Connection UI! It is time to connect your bot.
Note: If you have already configured your bot you start this program by running:
python3 /home/pi/Altrubots/python/botConnectionUi.py
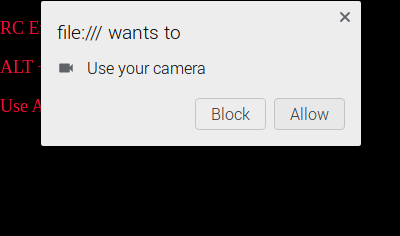
When you click connect on this UI, the python UI will connect to the Altrubots servers and relay any pilots messages to the bot.
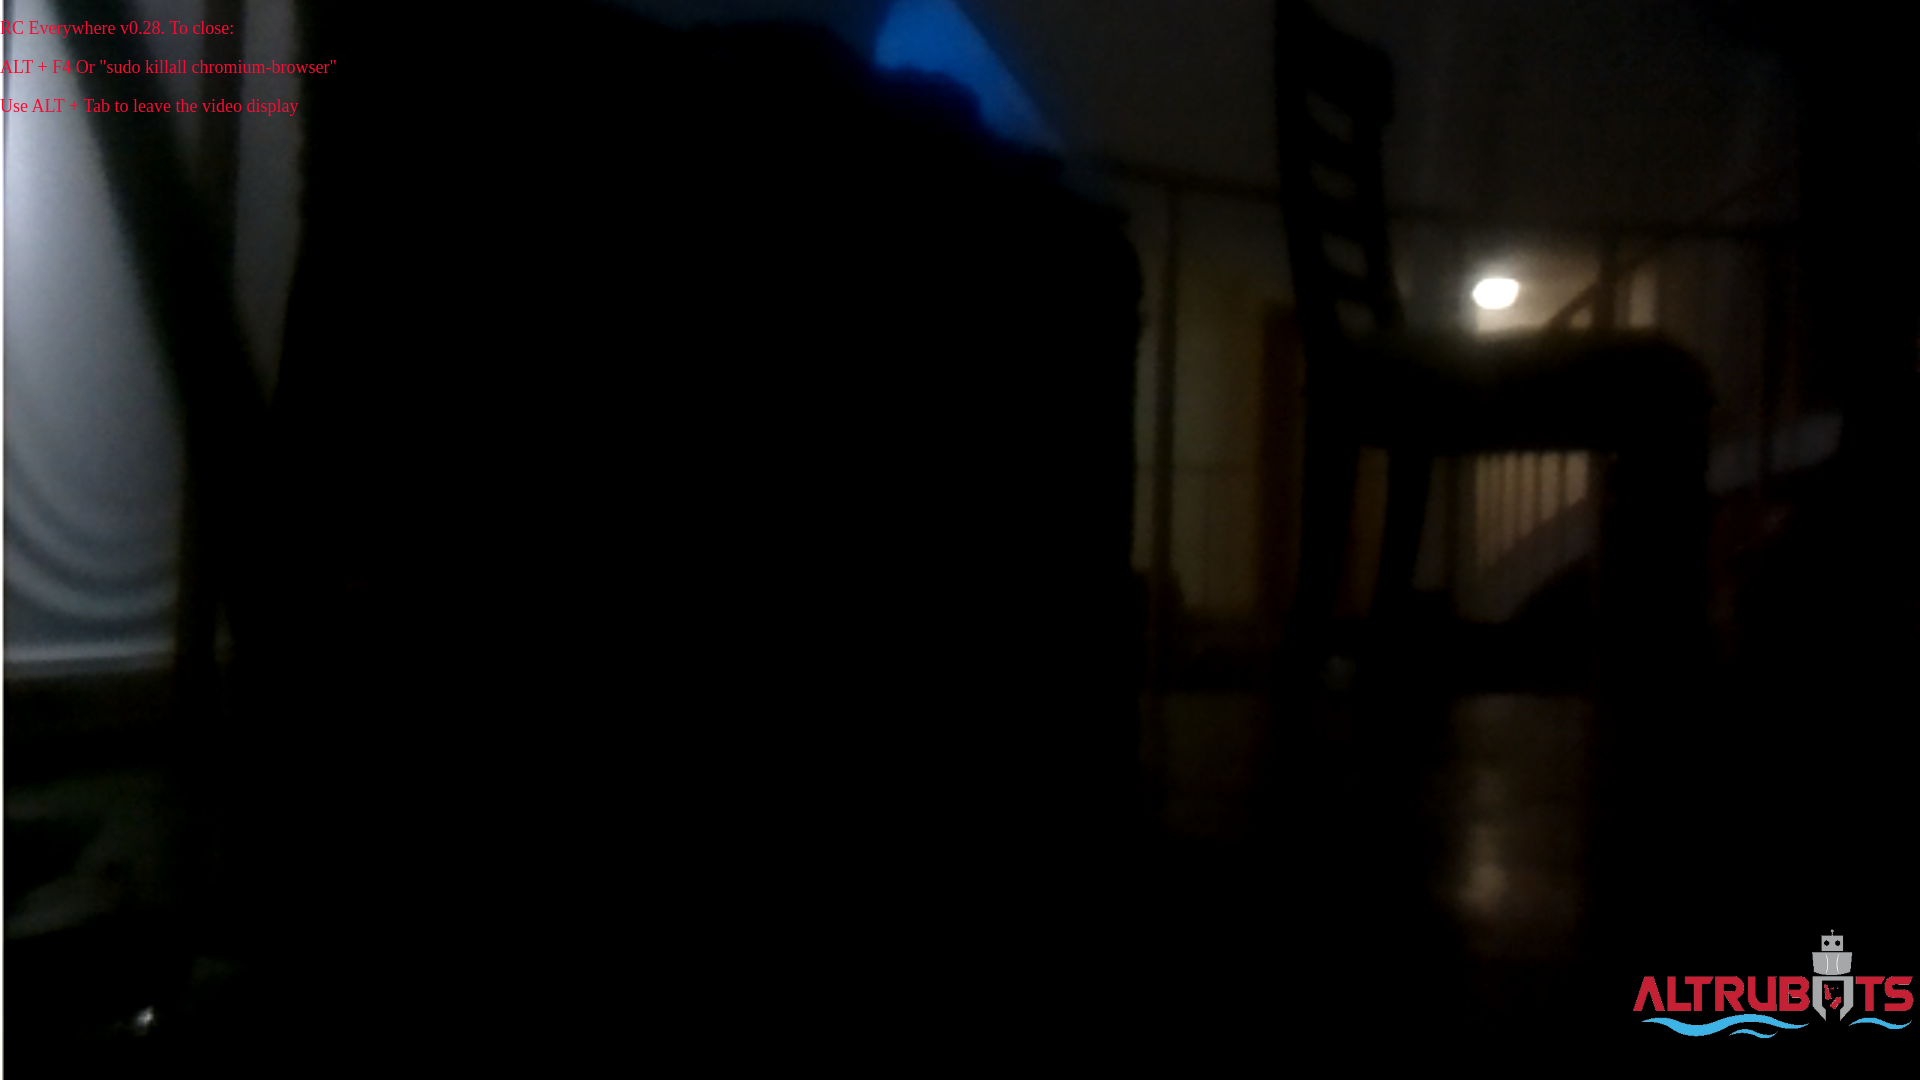
Additionally, a web browser will open to send the bots video to the pilot. Be sure to allow the browser access to the video:
Then the full video should be displayed:
Step 8 - Drive it over the internet!
Tell your friends and family to head over to the Play section of our website to pilot your bot!
You can also simply copy the pilot page url to send your buddies right to your bot page with no clicks required by updating the botName
url parameter in the below url:
https://altrubots.com/pilot/buttons.html?botName=YourBotName
RC Anywhere:
Author Credits

Altrubots #1 Software Architect
25-01-2020
RC Anywhere, Everywhere forever(verywhere)